
Choosing the right bathroom vanity is crucial when designing a space for wheelchair users or people with limited mobility. While the options for accessible vanities may seem limited, the good news is that there are now plenty of attractive and functional ADA-compliant bathroom vanities available. These options allow you to create a comfortable and stylish bathroom without requiring expensive custom work.
Let’s explore some essential considerations and guidelines for selecting the perfect ADA-compliant vanity.
What Does It Mean To Be ADA Approved?
The Americans with Disabilities Act (ADA) establishes guidelines for accessible design to ensure that common fixtures, like bathroom vanities, are usable for people with disabilities. This includes specific requirements for height, knee clearance, and approach space to accommodate individuals using wheelchairs.
While ADA guidelines were initially developed to ensure public spaces are accessible, many manufacturers now use these same standards to design accessible fixtures for homes. This makes it easier to create a bathroom that meets both aesthetic and functional needs.
Pro Tip Takeaway: “Age in place” bathroom renovations are a smart investment, even if no one in your home currently uses a wheelchair. Planning for future accessibility ensures your bathroom remains usable as mobility needs change over time.
Read Also: How to Remove a Bathroom Vanity
Understanding the ADA Guidelines for Bathroom Vanities
To be ADA-compliant, adult accessible sinks should not be mounted higher than 34 inches above the floor. For children, the sink should be set at a maximum height of 29 inches. While these heights are guidelines, adjustments should be made based on the user’s needs.
Key ADA Requirements for Bathroom Vanities
- Knee Clearance for Adults: 27 inches high, 30 inches wide, and 11-25 inches deep.
- Knee Clearance for Children: 24 inches high for comfortable access.
- Sink Depth: No more than 6 1/2 inches deep.
- Clear Floor Space: A minimum of 30 x 48 inches in front of the vanity for easy wheelchair approach.
Pro Tip Takeaway: Choose vanity dimensions based on the primary user’s height and mobility needs for optimal comfort and accessibility.
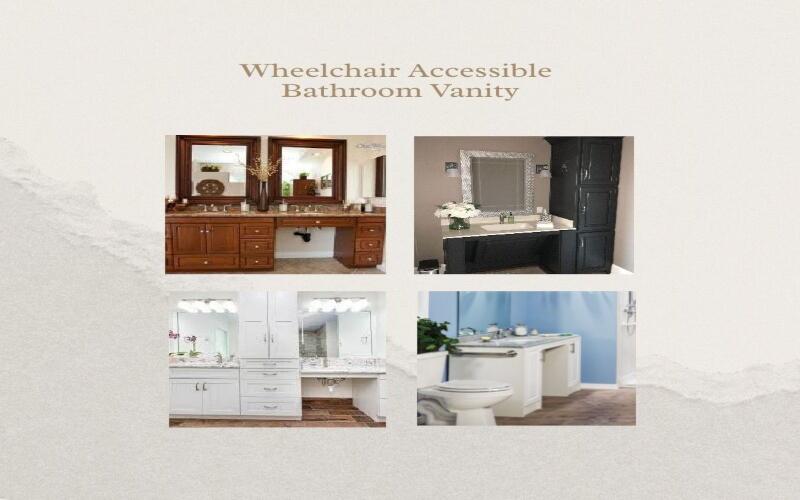
Designing a Wheelchair Accessible Bathroom Vanity
There are two main types of ADA-compliant vanities with an unobstructed roll-under area beneath the sink: open-type models and closed-type models.
Open-Type Vanity Model
The pipes under the sink should be covered with insulating jackets to protect the user from burns or injuries. This setup offers maximum knee clearance for wheelchair users.
Closed-Type Vanity Model
The closed model conceals the pipes with a removable face panel or board, providing a cleaner look while still allowing legroom. Ensure the panel is installed correctly to avoid obstructing the knee clearance.
Pro Tip Takeaway: When selecting an ADA-compliant vanity, ensure both style and safety are prioritized by choosing products that are easy to clean and safe for daily use.
Styles of Wheelchair Accessible Bathroom Vanities
Selecting the right style is essential for creating a bathroom that’s functional and visually appealing. Here are some features to consider:
Mirror Height
Install a full-length mirror or one that is low enough to be used comfortably by people of all heights. Adjustable mirrors are also a great option for shared bathrooms.
Sink Basin Height
Accessible sinks should have a shallow basin with safe and clear access to the faucet and countertop. A polished surface is ideal for easy cleaning.
Faucet Options
Choose lever handles instead of traditional knobs, as they are easier to use for people with limited strength or dexterity.
Shallow Vanity Depth
Consider shallow vanity depths or wall-mounted sinks to create more legroom and ensure easy wheelchair access.
Pro Tip Takeaway: Look for ADA-compliant vanities with polished surfaces that repel dirt, making cleaning a breeze while providing a modern look.
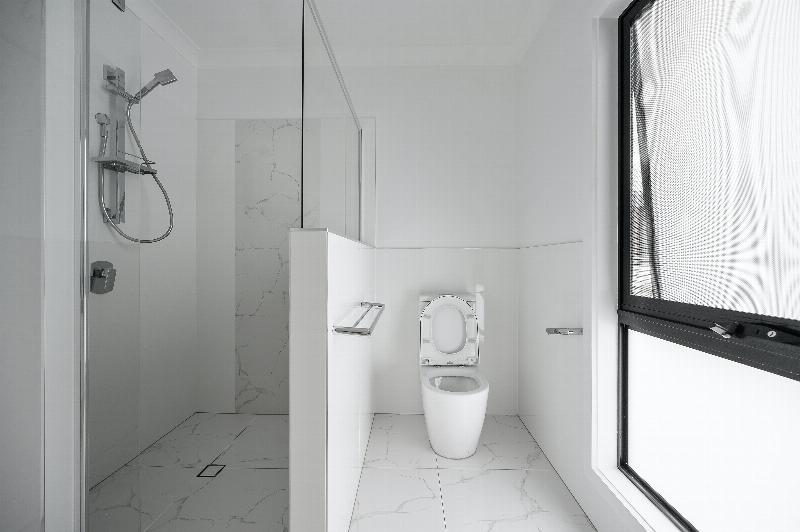
Designing Accessible Showers
The shower area is another essential part of creating an accessible bathroom. Consider features like:
- Barrier-Free Showers: Eliminate the curb for easy wheelchair entry.
- Glide Doors: Easier to operate than traditional swing doors.
- Shower Seats and Grab Bars: Provide stability and comfort.
- Hand-Held Showerheads: Adjustable showerheads with a 60-inch hose improve convenience for seated users.
Pro Tip Takeaway: Install a hand-held showerhead that can be easily controlled from a seated position for maximum comfort and flexibility.
Wheelchair Accessible Bathtubs
If you prefer a bathtub over a shower, a walk-in tub is an excellent option. These tubs feature easy-to-use doors and comfortable seating to prevent falls. For added luxury, consider tubs with built-in massage jets and temperature controls.
Pro Tip Takeaway: Always pair your bathtub with slip-resistant flooring to reduce the risk of falls when entering or exiting the tub.
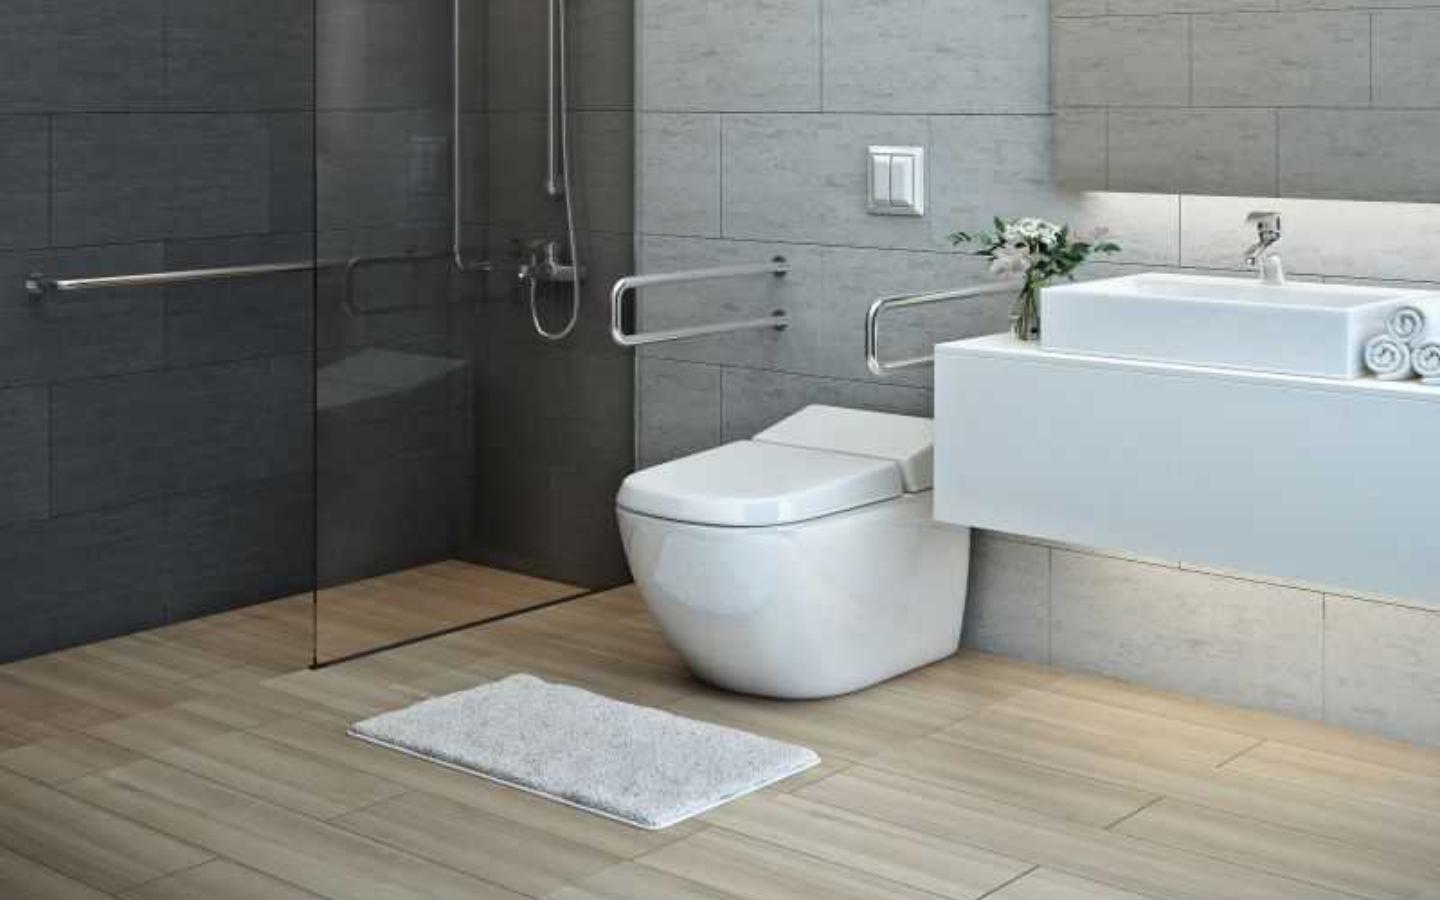
Wheelchair Accessible Toilets
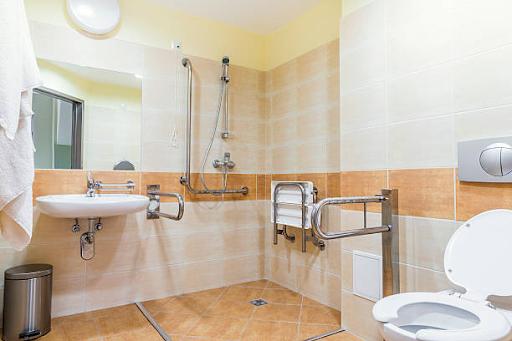
ADA-compliant toilets should be 17-19 inches high to make reaching and standing easier. Install grab bars on both sides of the toilet or consider a hinged pull-down bar if wall space is limited. This setup provides extra support for users transitioning from a wheelchair to the toilet.
Pro Tip Takeaway: Position toilets at least 18 inches from the side walls for easier access and to allow space for caregivers if needed.
Space for Easy Maneuvering and Turning
A wheelchair-accessible bathroom should have at least a 5-foot diameter open area to allow for easy maneuvering. Leave at least 4 feet of space between fixtures to ensure a clutter-free environment.
Pro Tip Takeaway: Make creative use of space by opting for compact or wall-mounted fixtures to maximize the available area.
Install Light Switches and Electrical Outlets
Ensure that light switches and electrical outlets are within easy reach of seated users. Installing motion-activated lights or large-toggle switches can also improve accessibility. Consider adding a window for natural light or upgrading to brighter fixtures for even lighting throughout the bathroom.
Pro Tip Takeaway: As a safety measure, some homeowners choose to install a phone or alert system in accessible bathrooms.
Final Thoughts
Creating a bathroom that is both stylish and accessible can significantly improve the quality of life for those with limited mobility. Whether you need to modify a bathroom for current use or future needs, Smart Remodeling LLC is here to help with expert guidance and professional services.
Contact us today to schedule a FREE consultation and let us help you design a bathroom that is functional, beautiful, and fully accessible.