

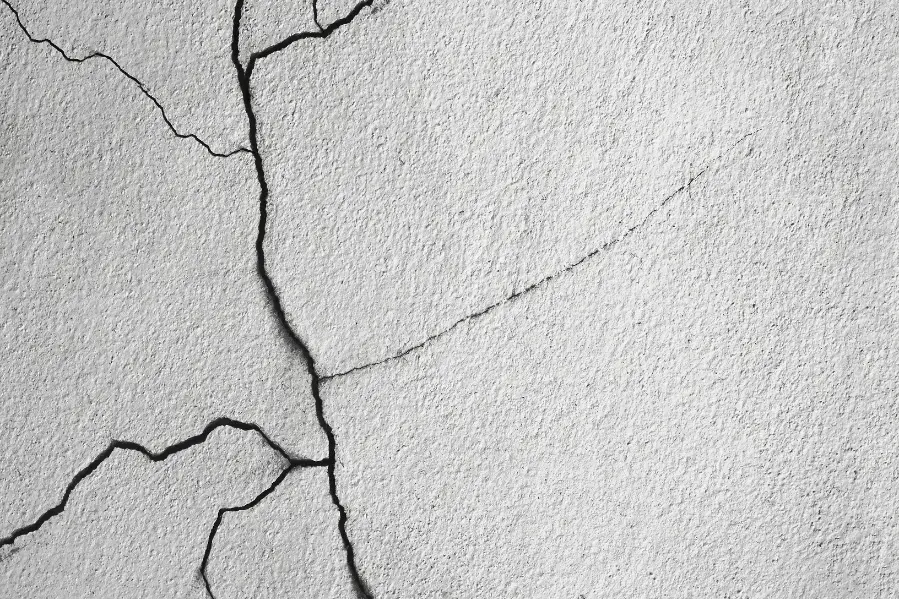
Concrete patios are a popular choice for outdoor spaces due to their durability and low maintenance. However, even the toughest concrete can develop cracks over time due to various factors, such as weather conditions, settling, or general wear and tear.
Addressing these cracks promptly is crucial to prevent further damage. Timely repair enhances the patio’s appearance and extends its lifespan.
In this article, we will explore the process of repairing cracks, from identifying the type of crack to applying the right materials and techniques.
A Step-by-step guide for Repairing Cracked Concrete Patio
Concrete patios can become cracked and worn over time. If your patio has seen better days, don’t worry—repairing those cracks isn’t as daunting as it sounds.
This step-by-step guide will walk you through everything you need to know to fix those cracks.
What You’ll Need
Gather all these materials to start the process.
Tools
- Concrete Chisel and Hammer
- Wire Brush or Rotary Brush
- Shop Vacuum or Broom
- Caulking Gun
- Putty Knife
Materials
- Concrete Patching Compound
- Concrete Bonding Adhesive
- Crack Filler
- Sealant
- Primer (for large cracks)
Preparation Steps: Same for all Methods
Proper preparation is crucial for a successful repair. Follow these steps to ensure that the crack is ready for filling.
Clean the Crack
Begin by using a wire brush to remove any loose debris, dirt, or crumbling concrete from the crack. After brushing, use a shop vacuum or broom to ensure that the crack is clean and free from dust and small particles. A clean crack allows for better adhesion of the repair materials.
Expand the Crack
For a more effective repair, use a chisel and hammer to slightly widen the crack. This creates a V-shape, which helps the filler adhere better and prevents the edges from crumbling. Make sure the edges of the crack are clean and solid, which ensures a strong bond with the repair material.
Method 1: Repairing Hairline Cracks
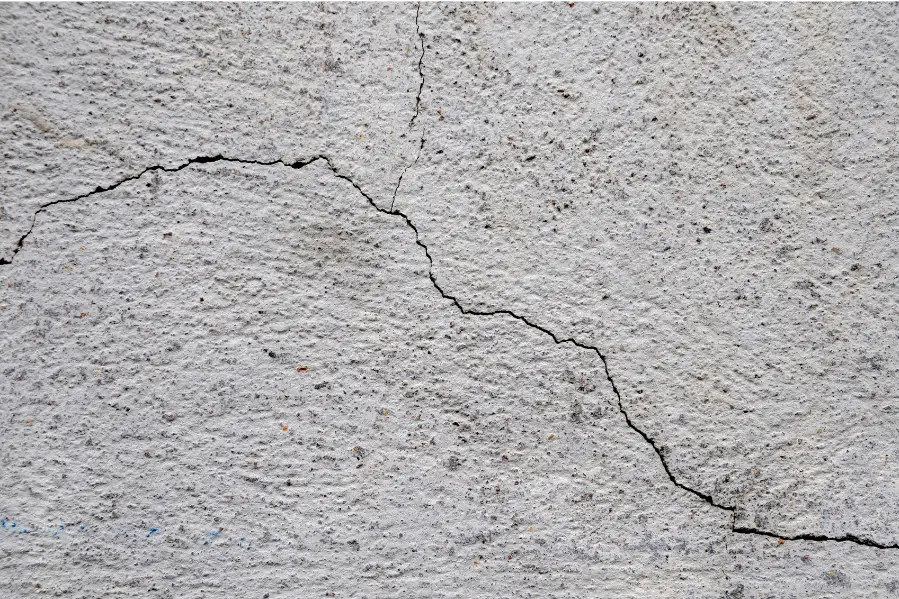
Hairline cracks are the easiest to repair but should still be addressed to prevent future problems.
- The first step is to apply concrete crack filler.
- Choose a high-quality concrete crack filler designed for hairline cracks.
- Load the filler into a caulking gun and apply it directly into the crack.
- Use a putty knife to smooth the surface and ensure that the filler is level with the surrounding concrete.
- Now, allow it to dry.
- Follow the manufacturer’s drying time instructions carefully.
- Avoid foot traffic and any use of the patio during the curing period to ensure a strong and long-lasting repair.
Method 2: Repairing Medium Cracks
Medium cracks require a bit more effort to repair effectively. Below are a few instructions to follow.
- Prepare the concrete patching compound according to the manufacturer’s instructions.
- Apply a bonding adhesive to the crack to enhance adhesion between the existing concrete and the patching material.
- Use a putty knife to apply the patching compound, filling the crack completely.
- Smooth the compound to blend with the surrounding surface.
- For deeper cracks, apply the compound in layers, allowing each layer to dry before applying the next.
- Protect the patched area from heavy use and harsh weather conditions until it is fully cured.
Method 3: Repairing Large Cracks
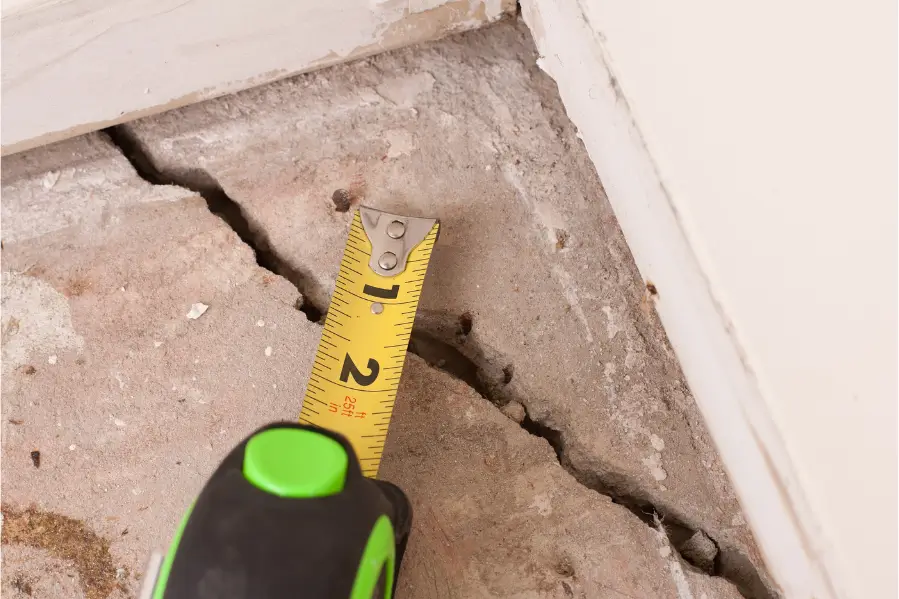
Large cracks require a more thorough approach due to their potential severity.
1. Get the Crack Ready
Grab a chisel and widen the crack into a V-shape. This makes it easier for the repair material to stick and prevents future crumbling. Then, use a wire brush to clean out any loose debris and vacuum the area thoroughly.
2. Apply Concrete Primer
Before you fill the crack, apply a concrete primer to improve the bond between the old concrete and the new material. Make sure it dries completely before moving on to the next step.
3. Mix and Apply the Patching Compound
Prepare the concrete patching compound according to the manufacturer’s instructions. Use a trowel to fill the crack, smoothing it out so it blends nicely with the surrounding surface.
If the crack is really deep, you might want to use a foam backer rod first to fill most of the space before applying the patching compound.
4. Seal the Repair
Once the patching compound has dried, apply a concrete sealant to protect the repaired area from moisture and future damage.
Be sure to choose a sealant that’s appropriate for your specific type of concrete and local climate conditions.
Preventive Measures to Extend the Life of Your Concrete Patio
To ensure your concrete patio remains in excellent condition and to minimize the risk of future cracks, follow these preventive measures:
1. Regular Inspections
Conduct regular inspections of your patio early to detect any emerging cracks or signs of wear. By identifying minor issues promptly, you can address them before they escalate into more significant problems. Aim to inspect the patio at least once a season, especially after severe weather events or heavy use.
2. Proper Maintenance
Routine Cleaning: Keep your patio clean by regularly removing dirt, debris, and organic material. Accumulated debris can retain moisture and exacerbate existing cracks, leading to further damage. Use a broom or a gentle power washer to maintain a clean surface.
Resealing: Apply a high-quality concrete sealer every few years to protect the patio from moisture infiltration and UV damage. Resealing helps to maintain the concrete’s integrity, prevents staining, and extends the life of the surface.
Follow the manufacturer’s recommendations for the appropriate type of sealer and application frequency based on your local climate and patio usage.
Expert Concrete Crack Repair with Smart Remodeling LLC
When it comes to repairing and maintaining your concrete patio, Smart Remodeling LLC offers top-notch services to ensure a durable and visually appealing result.
With their extensive experience and commitment to quality, they are well-equipped to handle any concrete repair needs.
Here’s why you should consider their services:
- Smart Remodeling LLC provides a thorough assessment of your concrete patio to identify the type and extent of cracks.
- Their skilled team utilizes the best tools and materials.
- With years of experience in the industry, Smart Remodeling LLC is known for its reliability and efficiency.
If you’re planning a home remodeling project, remember that Smart Remodeling LLC offers comprehensive services beyond concrete repair. They can help transform any part of your home with the same dedication and expertise.
For a professional and reliable solution to your cracked concrete patio, contact Smart Remodeling LLC today.
Conclusion
Repairing cracks in a concrete patio is essential for maintaining both its aesthetic appeal and structural integrity. By following the steps outlined in this guide, you can effectively address hairline, medium, and large cracks, ensuring a durable and long-lasting repair.
If you encounter severe cracking or structural problems, don’t hesitate to seek professional help for a thorough evaluation and repair.