

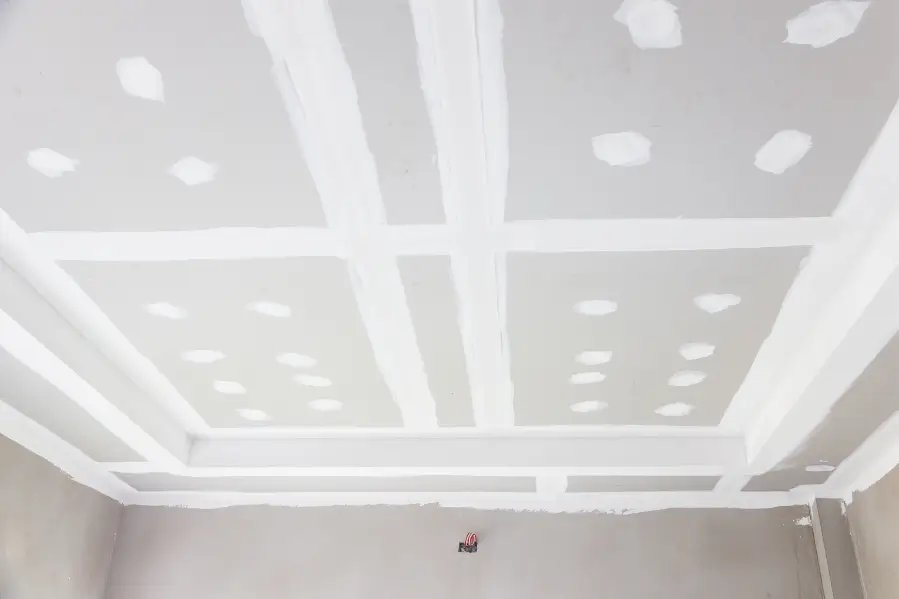
Imagine relaxing in your living room, only to look up and notice an unsightly hole in your ceiling. It’s not just an eyesore; it could signify underlying issues like water damage or structural problems.
You don’t have the option to ignore it because it might worsen over time. But don’t worry—fixing a hole in the ceiling is easier than you think, and you don’t need to be a professional to do it.
This article will guide you through a step-by-step process to repair that hole, restore the appearance of your ceiling, and give you peace of mind.
Things You’ll Need To Fix a Hole in the Ceiling
- Drywall or plasterboard
- Tape measure
- Utility knife
- Putty knife
- Sandpaper (120 grit)
- Multi-tool or drywall saw
- Screws and drill
- Timber for backing support
- Joint compound (10-minute rapid set recommended)
- Fiberglass mesh or paper tape
- Primer and paint (paint and primer in one for convenience)
- Safety gear (goggles, dust mask)
Instruction to Fix a Hole in Ceiling
Dealing with a hole in your ceiling can be a daunting task, but with the right guidance, it’s a project you can handle yourself. Follow these instructions carefully to ensure a smooth and professional-looking repair.
Step 1: Assess the Damage
First thing first. Determine if your ceiling is made of plaster or drywall, as this will influence your approach. Drywall is more common in modern homes and easier to repair than plaster. Use a tape measure to document the size and shape of the hole. This will help you cut a patch that fits properly.
Then check if the damage was caused by water leaks or physical impact. If water damage is present, fix the source of the leak before repairing the hole to prevent recurrence.
Step 2: Prepare for Repair
Now set up the work area. Protect your surroundings by covering furniture and floors with drop cloths or plastic sheets. Ensure adequate lighting and ventilation.
Step 3: Repair the Hole
Make sure you have all the materials and tools listed above ready before starting the repair. Now there are two approaches to fix the hole according to its size.
For Small Holes (Less than 6 inches)
Remove any loose or damaged material around the hole. Use a pre-made patch or cut a piece of drywall slightly larger than the hole. Attach the patch with adhesive or screws. Apply joint tape around the edges for reinforcement.
For Large Holes (More than 6 inches)
Measure and cut a piece of drywall larger than the hole. Insert timber pieces inside the hole to support the new drywall piece. Screw the drywall patch into the backing support, ensuring it is flush with the existing ceiling.
Step 4: Apply Joint Compound
Cut fiberglass mesh to fit around the patch, ensuring it does not overlap. Fill the joint with joint compound before applying the mesh. Smooth it over the patch. Apply two to three layers of joint compound, sanding between each layer for a smooth finish.
Step 5: Sanding and Priming
Sand the final layer of joint compound until it is smooth and flush with the ceiling. Apply a coat of primer to prepare the area for painting.
Step 6: Finishing Touches
Apply paint to match the existing ceiling. Using a paint-and-primer-in-one can save time.
How Much Does Ceiling Repair Cost in 2024?
Ceiling repair costs in 2024 can vary widely based on several factors, including the size of the ceiling, the materials used, and the extent of the damage. Here’s a detailed breakdown to help you understand what to expect.
| Repair Type | Cost Range |
|---|---|
| Average Cost | $800 |
| Lowest Cost | $125 |
| Highest Cost | $3,000 |
Factors Influencing the Cost
- The size of the area that needs repair is a significant factor. Contractors usually charge by square foot, with rates ranging from $45 to $90 per square foot.
- The materials used also play a crucial role. Drywall is the most cost-effective material for ceiling repairs, costing between $1.50 and $3 per square foot for replacement.
- When it comes to repairs, including labor, drywall costs between $50 and $70 per square foot.
- The extent of the damage is another important factor. Minor cosmetic issues are typically on the lower end of the cost spectrum, while more severe damage, such as from water leaks or structural problems, can significantly increase repair costs.
- In cases where the damage is too extensive for repair, a full ceiling replacement may be necessary. This can cost up to $3,000, depending on the ceiling size and materials used.
These estimates provide a general idea of what to expect when budgeting for ceiling repairs in 2024.
Professional Help: Smart Remodeling LLC
While DIY repairs can be satisfying, sometimes the damage is extensive, or you may prefer a professional touch. Smart Remodeling LLC offers expert services that ensure a flawless finish. With experienced technicians, they handle everything from minor holes to significant structural damage.
Contact Smart Remodeling LLC for a consultation and let their skilled team take the hassle out of your ceiling repairs.
Conclusion
Fixing a hole in the ceiling can be straightforward with the right materials, tools, and approach. By following these detailed steps, you can achieve a professional-looking repair that restores the appearance and integrity of your ceiling. Address any underlying issues to prevent future damage and maintain the beauty and functionality of your home.