
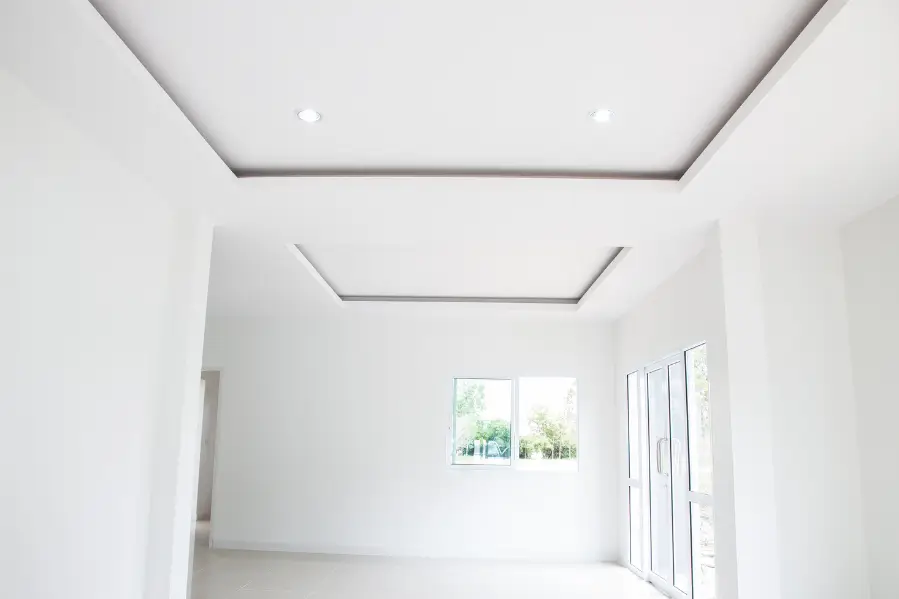
When it comes to home projects, painting your Ceiling may not be the first thing that comes to mind, but ceiling paint can offer a final creative touch to your interior decor while brightening and hiding imperfections in your living area.
Another benefit is that a well-painted ceiling can significantly improve a room’s appearance. With the right tools, procedures, and determination, you can get a smooth, even cover.
This guide will cover all the necessary steps to take and factors to consider when painting a ceiling to look professional. So, let’s get into it.
A Step-by-Step Guide to Painting a Ceiling
This comprehensive guide walks you through every step, from preparation to the final coat, ensuring a smooth and professional finish.
Required Tools and Materials
To start, gather the essential tools and materials, considering the height and other parameters related to your Ceiling.
Tools
- Paint Brushes
- Paint roller with extension handle
- Paint Tray and Liners
- Dust sheet
- Paint scraper
- Sandpaper
- Screwdriver
- Masking Tape
- Paint Mixer
- Paint sprayer (optional)
- Drywall mud
- Cardboard (if required)
Materials
- Ceiling paint
- Primer
- Interior Putty or Spackle
- Plastic Sheets or Drop Cloths
- Paint pot
1. Preparatory Steps
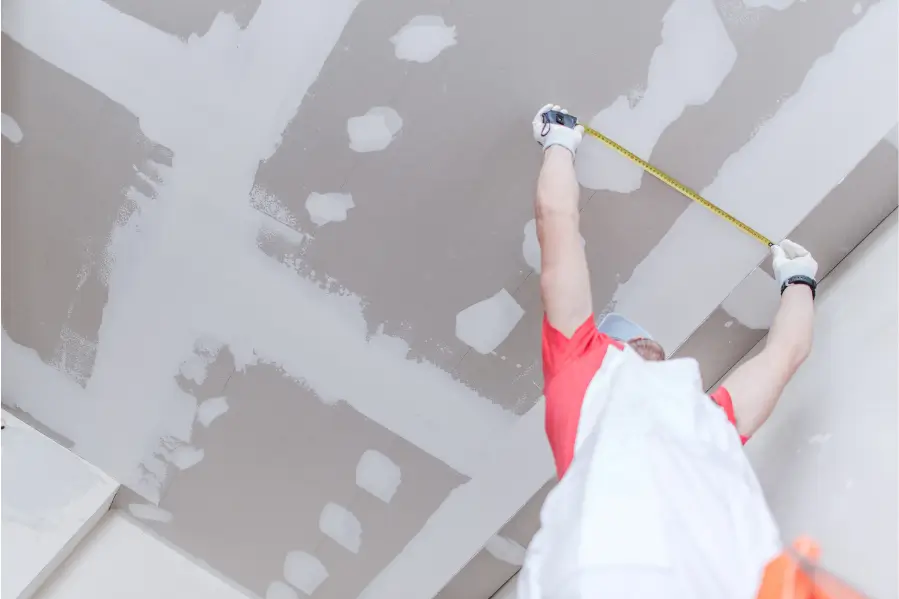
Here are a few preparatory steps that you need to take before starting the actual painting process.
Fixing Cracks in the Ceiling
- Swipe Away Stray Paint: Utilize a screwdriver to scrape off any loose paint and cement. Enlarge the cracks in plaster ceilings to accommodate more mending material. Clear the cracks in drywall ceilings.
- Wash Up the Breaks: To improve the adhesion of fresh paint, smooth the edges of cracked paint with 100-grit sandpaper. Then, brush the dust away.
- Apply Fixing Solution: For plaster ceilings, use spackling compound; drywall ceilings, use drywall mud. Use a putty knife to fill in cracks, allow it to dry, and then sand it using 200-grit sandpaper.
- Apply Second Layer of Compound: Ensure cracks are filled by applying a second coat.
Cleaning Paint from the Ceiling
- Wet Cloth: Use a damp cloth to remove spots caused by wet paint.
- Cleaning Wipe: For dry paint spots, use a cleaning wipe to take off the paint.
- Paint Scraper: Apply a paint removal solution to a paint scraper and let it sit. Then, carefully scrape off the paint.
Areas Not to Be Painted: Covering Them
If possible, remove the light fixtures. If not, use masking tape to cover them to prevent paint splashes. Use masking tape to cover the borders.
2. Instructions
Follow our detailed instructions to quickly transform your ceiling and enhance your room’s overall appearance.
Step 1: Gathering Materials and Tools
Use matt emulsion paint made for ceilings to reduce drips and splatters and ensure a smooth, expert-painted finish. Gather the required materials, including primer, brushes, rollers, sandpaper, a paint tray, and a ladder, for access and preparation.
Step 2: Put Painter’s Tape on
Start by taping off the wall or the molding edge if you paint the Ceiling. Use a broader painter’s tape to get the roller near the corner without getting paint on the wall. By being less exact, you can work more quickly.
Step 3: Clearing and Protecting the Room
Before beginning the painting process, clear as much space as possible in the room. Move all the furniture to the middle and cover it with dust sheets. Use plastic sheets to protect the flooring from paint drips that can harm it.
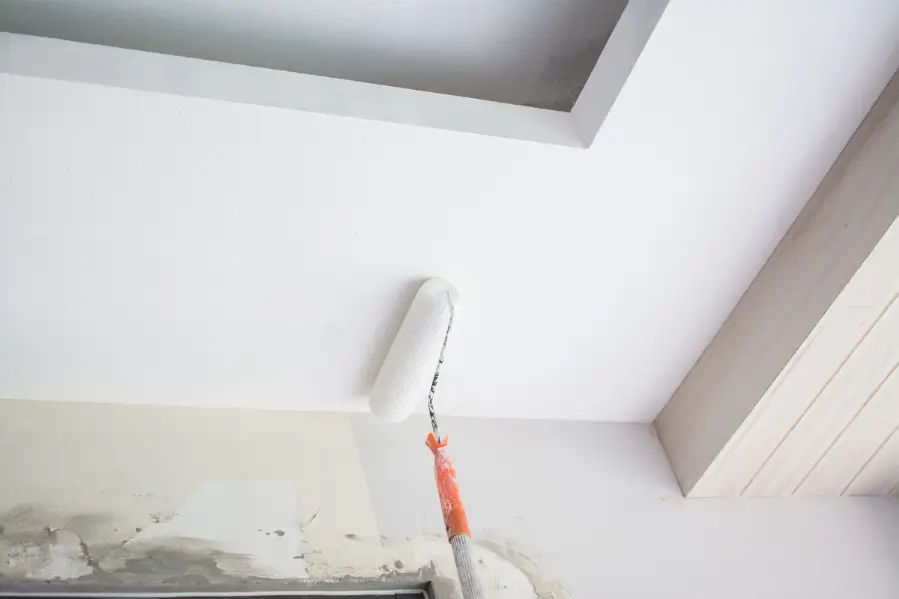
Step 4: Choosing and Applying Primer
To minimize spills and drips, use a primer for ceilings. If necessary, consider a stain-blocking primer. Begin by “cutting in,” applying paint with a brush around knobs and edges.
Apply primer to the primary ceiling area using a roller for even coverage. Priming strengthens the base of your paint by enhancing adherence and masking imperfections.
Step 5: Painting the Ceiling
When the primer is completely dry, properly mix the ceiling paint and transfer it into a paint tray. Use a filter if necessary to remove any loose particles. To make wall painting easier, use a brush to paint a 2 cm wide strip along the edges in a circular motion.
Three types of paint can be used:
- Water-based
- Latex
- And oil-based paints.
Make sure the paint roller is filled before applying long, even strokes. If you need to apply a second coat, wait until the first coat is dry.
Step 6: Painting the Ceiling Trim
Once the walls have dried, use a putty knife to secure the masking tape along the wall-trim edge, applying it evenly. Then, a brush is used to apply the Ceiling paint to the trim.
Remove the masking tape to prevent peeling off freshly painted surfaces and achieve neat lines.
Step 7: Roll into the paint
Roll into the paint; use the tray’s smooth side to roll off any extra. Rolling into the paint will speed up the process, but it will result in more splatters and drips. Apply the paint in overlapping strokes to produce a smooth, even surface.
Step 8: Allow to Dry
After painting the entire Ceiling, Give the paint 30 minutes to dry. See if the surface requires any touch-ups. Hold off applying a second layer of paint until the first coat has dried thoroughly.
Step 9: Add More Coats If Necessary
You should apply more than one layer of ceiling paint, depending on the color and quality of the paint. For a perfect finish, lightly sand between coats and adhere to the manufacturer’s recommended drying times.
Step 10: Cleaning up and finishing
Clean your painting instruments as soon as you’re done. For oil-based paints, use warm, soapy water and the proper solvents. To ensure future use, carefully rinse and dry the instruments. Before returning the furniture to the room, remove the masking tape to prevent peeling and clean up any paint splashes on the plastic covers.
Average time required to paint a ceiling
When painting a ceiling, it’s essential to consider drying and recoating times for different types of paint.
Water-based paint requires a waiting period of 4-6 hours before applying a second coat, while oil-based paint needs 24 hours. Typically, paint dries to the touch within 30-90 minutes, but it can take 1-3 weeks to cure fully.
Always refer to the paint label instructions for specific drying and curing times to ensure the best results.
What to Remember When Painting Your Ceiling
A well-painted ceiling can significantly enhance the aesthetics of your room. Taking your time and paying attention to details will result in a professional finish. While different colors can add interest, using the same color for the ceiling and walls can create a cohesive and simple look. Always paint the ceiling before the walls or trim.
1. Points to Follow
- Clean Tools: Thoroughly clean brushes and rollers with water after use.
- Clear Spills: Wipe up any spills from ladders and ceiling fixtures promptly.
- Remove Drop Cloths: Remove the drop cloths and check for any paint splatters on walls and floors. Take extra care to clean paint from carpets.
- Ventilation: To ensure proper ventilation, keep the room’s windows open for several hours.
What is the Average Cost Required to Paint a Ceiling?
The cost of painting a ceiling varies depending on the type. Here are some average costs:
| Type of Ceiling | Average Cost |
|---|---|
| Smooth Ceiling | $1-$3 per square foot |
| Textured Ceiling | $1-$2 per square foot |
| DIY Ceiling | $200-$600 |
| Drop Tiles Ceiling | $1-$3 per square foot |
| Basement Ceiling | $2-$6 per square foot |
Professional Painting Services by Smart Remodeling LLC
When it comes to remodeling, Smart Remodeling LLC offers comprehensive services for both home and commercial projects, including professional painting. With over 14 years of expertise in custom design, building, and remodeling, they ensure reliable, on-time project completion.
Their services encompass commercial remodeling, kitchen remodeling, bathroom remodeling, and exterior remodeling. Smart Remodeling LLC, a recipient of the Best of Houzz Award for 2024, provides top-notch service and attention to detail.
Receive free estimates to plan your budget realistically and trust in their proven track record for exceptional results.
Conclusion
Painting a ceiling can significantly enhance a room’s appearance by providing a fresh look and hiding imperfections. You can achieve a professional finish with the right tools, preparation, and techniques. Remember to thoroughly prepare the surface, use the appropriate primer and paint, and follow the steps for even application and drying.
Proper cleanup and attention to detail will ensure a polished result that enhances your interior decor. Whether you tackle the project yourself or hire professionals, a well-painted ceiling adds significant aesthetic value to your home.