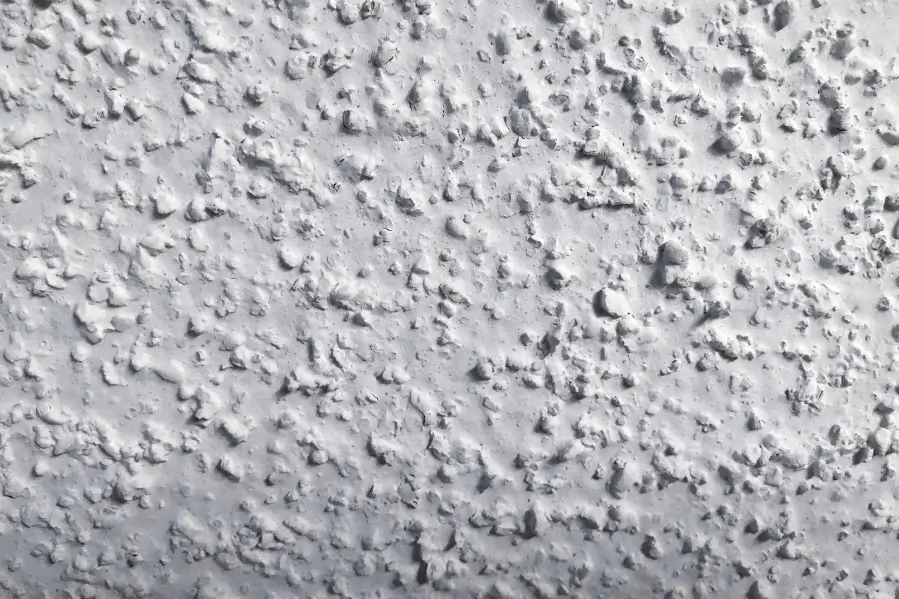
Popcorn ceilings, also known as acoustic ceilings. They were popular in the mid-20th century due to their ability to hide imperfections and reduce noise.
However, many homeowners today choose to update their interiors by painting over these textured ceilings. Painting a popcorn ceiling can refresh your space and give it a more modern appearance.
In this article, we’ll guide you through the entire process of painting a popcorn ceiling, from preparation to finishing touches.
Why Paint a Popcorn Ceiling?
Painting a popcorn ceiling offers several benefits, including:
1. Modernization
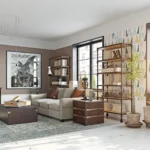
Popcorn ceilings were once popular for their acoustic properties and ability to conceal imperfections. However, they can make a home look dated and less stylish. It can modernize your interior by giving it a clean, updated look.
This simple upgrade can transform the atmosphere of your space, making it feel more contemporary and appealing.
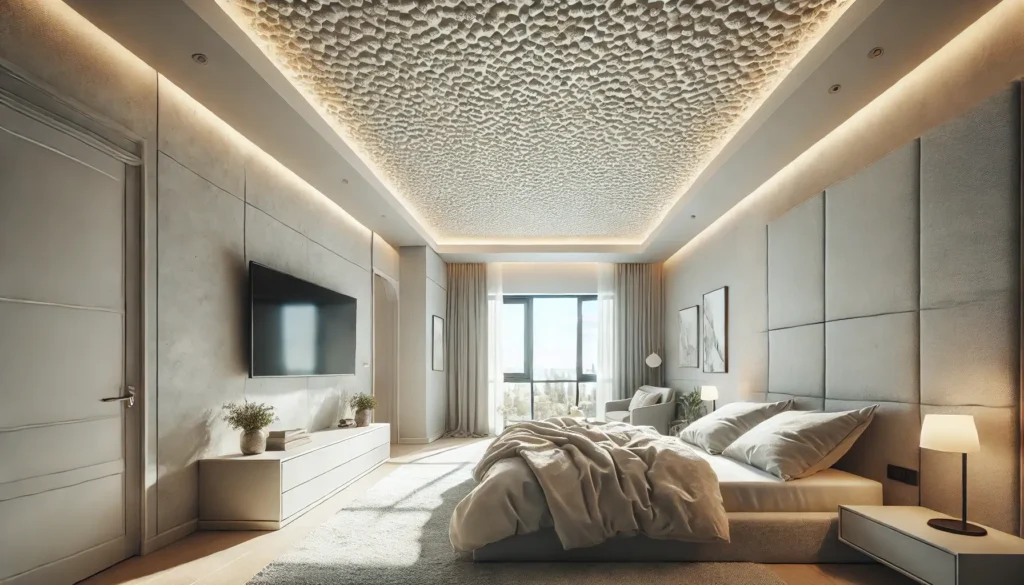
2. Improved Brightness
Popcorn ceilings often absorb and diffuse light unevenly, making rooms appear darker and less vibrant. A fresh coat of paint, especially in lighter colors, can enhance the light-reflective qualities of your ceiling. This can make your space feel brighter and more open, improving the overall ambiance of the room and reducing the need for additional lighting.
3. Concealing Stains and Imperfections
Over time, popcorn ceilings can accumulate stains from water damage, smoke, or general wear and tear. These stains can be challenging to clean and often detract from the ceiling’s appearance.
Painting provides a uniform layer that can cover these blemishes and imperfections, restoring the ceiling’s visual appeal and extending its lifespan.
4. Increased Home Value
Homes with outdated or damaged popcorn ceilings can sometimes struggle to attract buyers. By updating your ceiling with a fresh coat of paint, you can improve the overall look of your home and potentially increase its market value.
This is especially beneficial if you’re planning to sell, as it makes the property more attractive to prospective buyers who may prefer modern finishes.
5. Protection
Popcorn ceilings are prone to collecting dust and cobwebs, and their textured surface can become brittle and crack over time. Painting not only enhances the appearance but also provides a protective layer that can help preserve the texture underneath.
This additional layer can act as a barrier against dust accumulation and minor damage, making the ceiling easier to maintain and clean.
Step-by-Step Instructions for Painting a Popcorn Ceiling

So, we learned that painting a popcorn ceiling can dramatically transform the look of a room, giving it a fresh and updated appearance.
This guide provides a detailed, step-by-step approach to ensure a smooth and professional finish.
What You’ll Need
- Paint Sprayer
- Paint
- Drop Cloths or Clothes
- Paint Tray
- Paint Roller Extension Pole
- Painter’s Tape
- Caulking Gun and Fast-Drying Caulk
- Masking Tape
- Protective Gear (Mask, Safety Goggles, Gloves)
- Clean-Up Supplies (Sponges or Rags, Buckets of Water, Vacuum Cleaner)
- Step Ladder or Scaffolding
Instructions to Follow
Instructions for popcorn ceiling painting are given below:
Step 1: Protect the Room
Start by preparing the room for painting. Ensure that the space is either completely empty or that all furniture and carpeting are thoroughly protected from overspray.
Cover the floors with cloths or drop cloths to catch any drips or splatters. In rooms with concrete floors, this step is less critical but still advisable.
Step 2: Set Up Your Equipment
Arrange your painting equipment and supplies. Gather all necessary tools, including the sprayer, paint, and any other accessories, and organize them in a convenient manner. In an empty room, you will have more flexibility to spread out and prepare effectively.
Step 3: Use the Sprayer
Begin with the sprayer, as this is the preferred method for painting popcorn ceilings to avoid damaging the texture. If you do not own a sprayer, consider renting one or borrowing from a friend. Spraying is crucial because rolling may disturb the popcorn texture, causing it to break apart.
Step 4: Apply the Paint
Apply the paint in small, manageable sections. Start by working in one direction, such as east-west, and then switch to the perpendicular direction, like north-south.
This overlapping pattern helps blend the paint and achieve a uniform finish.
Step 5: Maintain a Steady Rhythm
Ensure you maintain a steady rhythm while painting. Overlap each pass of the sprayer slightly to avoid visible lines or streaks. The sprayer should have a consistent spread, typically around 12 inches.
Step 6: Prime New Drywall
For new drywall, start by applying a primer. The primer layer is crucial for proper paint adhesion. Allow the primer to dry for approximately an hour and a half before proceeding with the topcoat.
Step 7: Paint the Ceiling
Once the primer is dry, proceed with painting the ceiling. Use the same overlapping technique you applied for the primer. Ensure even coverage and blend the edges to prevent any noticeable lines or patches.
After completing the ceiling, move on to painting other elements, such as the AC registers. Use a semi-gloss paint for these components to match the finish of the doors and baseboards.
Painting registers is often a more cost-effective solution than replacing them.
Step 8: Paint the Baseboards
Focus on the baseboards next. Use a sprayer for painting baseboards to increase efficiency. Spraying is generally faster and requires fewer coats compared to rolling or brushing. Paint all baseboards before laying down any new flooring.
Step 9: Clean Up
Once the painting is complete, clean up the area. Remove all drop cloths and protective coverings from the furniture and floors. Clean your tools and equipment according to the manufacturer’s instructions.
Step 10: Inspect the Work
Inspect the ceiling and other painted surfaces for any missed spots or areas that may need touch-ups. Address any issues to ensure a flawless finish.
Step 11: Final Touches
Vacuum up any overspray or debris that may have settled on the floor during the painting process.
Get Professional Popcorn Ceiling Services
If you’re looking for top-notch painting services for your popcorn ceiling, look no further than Smart Remodeling LLC. We are your trusted partner for all your house painting needs in Houston. Our team offers a comprehensive range of services designed to breathe new life into your home, creating a fresh, vibrant look that stands the test of time.
As a leading remodeling contractor in Houston, we are proud to have been awarded the Best of Houzz Award for 2024. This recognition reflects our strong commitment to quality and customer satisfaction. We look forward to continuing to exceed your expectations with our exceptional remodeling and painting services.
Wrap Up
Painting a popcorn ceiling can significantly enhance the appearance of your space, giving it a fresh, modern look. By carefully following the steps outlined—from preparation and equipment setup to the actual painting and clean-up—you ensure a smooth, professional finish.
For those seeking expert assistance, Smart Remodeling LLC offers top-notch painting services with a commitment to quality and customer satisfaction. Contact us to transform your ceiling and enjoy a beautifully refreshed home.