
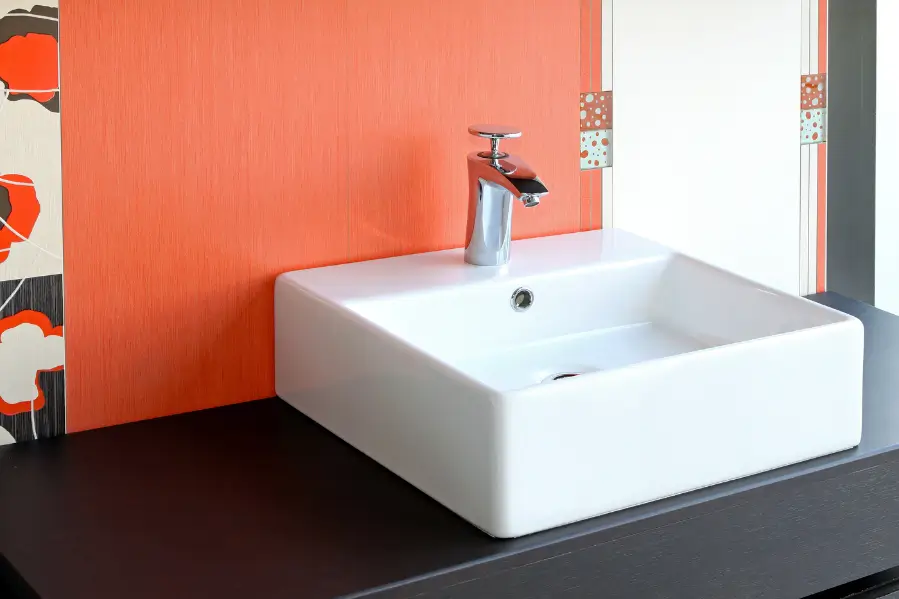
One of the most important things your bathroom must have is a sink. It is essential for cleaning your teeth and washing your face. The rust and stink of an old wash basin drain can be unpleasant.
It would be helpful if you cleared your drain yearly or at least once. Obstructions may cause problems if you neglect to clean your sink drain. Do you believe your house’s drain systems need to be replaced soon?
Replacing the drain on your washbasin is a typical do-it-yourself job that can enhance the performance and appearance of your bathroom. An outdated or faulty drain can impact your sink’s general appearance and potentially cause water damage.
So let’s learn today in this article how you can replace a bathroom sink drain by yourself.
Invest in the Right Sink Drain for Your Bathroom
Make sure the sink is the right size before replacing the drain. For information on the drain size, be careful when measuring the opening or consult the instructions provided by the manufacturer.
If you choose the wrong measurements, your drain may become clogged or tumble into your drain lines. To add a focal point to the sink, choosing a drain that has a distinct finish typically works nicely. The most widely used sink drains are brass because of their aesthetic appeal.
The adaptable finish of a bronze drain creates a striking combination. It complements both concrete and copper sinks. A chrome drain complements modern sinks and bathrooms, whereas a nickel drain adds an elegant finish.
Tools and Supplies Needed
Here is a list of items you must carry out during the entire procedure of replacing your bathroom sink drain.
- The new sink drain system
- Pliers with an adjustable grip
- Plumber’s putty
- Pipe joint compound
- Pipe wrench
- Screwdriver
- A bucket
- Towels
- A caulk gun
- Silicone caulk
- Penetrating oil, like WD-40
How to Replace a Sink Drain in a Bathroom?

Here are the instructions to follow while replacing the sink drain.
| Category | Details |
|---|---|
| Time Required | 1-2 hours |
| Skill Level | Intermediate |
| Total Cost | Approximately $30-$60 |
Step 1: Set Up the Work Area
Remove anything from under the sink to make room for your workspace. Place a bucket underneath the sink to collect any water that may leak throughout the operation. To prevent spills and possible leaks, place towels on the floor or cabinet.
Step 2: Take Out the Old Plumbing
Adjustable pliers should be used to first release the slip nut connecting the P-trap to the drain tailpiece. A little water may spill out, so be prepared to deal with it.
The P-trap can be removed by loosening the slip nut and holding it to the vertical drain pipe. If the stopper on the drain is pop-up, remove the stopper assembly and unplug the pivot rod from the lift rod.
To disconnect the drain flange from the bathroom sink, use a pipe wrench or a set of pliers to loosen and remove the locknut. Add penetrating oil to the drain flange to help let go of it if it is stuck. The drain flange will be free after the locknut is taken out. If it’s stuck, give it a little tap from below to get it loose, and then lift it out.
Step 3: Tidy Up the Space
Clean the area surrounding the sink drain hole to remove debris and leftover plumber’s putty. Using a putty knife or a comparable instrument, remove any leftover putty or residue.
Step 4: Installing the New Drain
The slip nut should be manually tightened after being threaded into the drain flange threads. Make sure the drain flange is level and centered in the sinkhole. If necessary, tighten the slip nut to prevent sink or drain assembly damage. Use a wrench or pliers, and be careful not to snug it too much. Wipe away any leftover plumber’s putty that could have seeped out surrounding the drain flange.
Step 5: Put the Pop-Up Stopper and P-Trap back together
Use adjustable pliers to tighten the slip nuts firmly so the P-trap is reattached to the drain tailpiece with the vertical drain pipe.
If your sink has a pop-up stopper, reconnect the pivot rod to the lifting rod and make any adjustments to the connection to guarantee smooth service. Lifting and lowering the pop-up stopper will allow you to verify that it seals correctly and glides easily.
Step 6: Look for any leaks
To check for leakage near the new drain assembly, turn on the water and allow it to run for a few minutes. Examine every joint and connection for indications of water leaks. If required, tighten any fittings to prevent leaks. After removing any extra water, make sure the space beneath the sink is dry.
Step 7: Fill up gaps with silicone
If preferred, add a little bead of silicone caulk to the drain flange’s edge where it joins the wash basin basin. Using a caulk tool or finger, smooth the caulk to produce a clean, airtight seal. Before utilizing the sink, let the caulk dry and cure in accordance with the manufacturer’s recommendations.
Step 8: Clear Up and Test the freshly installed drain
To assess the new installation, turn on the sink’s water supply and pour water down the drain. For leaks, examine the area around the drain setup, under and above the sink. If necessary, tighten any connections to prevent leakage. Make sure there are no problems with the water flowing down the drain smoothly.
Step 9: Tighten and adjust if needed
Check all connections twice to verify that they are tightened correctly and securely. Make any necessary adjustments to the P-trap and pop-up stopper to ensure they are correctly positioned and operating. Make any last-minute modifications to guarantee that the drain assembly is installed correctly.
Step 10: Seal and Finish
Before using the sink, let the silicone caulk you applied in Step 7 completely dry. Clear out any extra caulk or dirt from the area surrounding the sink. Remove the packing, plumber’s putty, and any outdated materials from the freshly installed drain assembly. Enjoy the enhanced functionality of your bathroom sink and the newly installed drain.
Why Choose Smart Remodeling LLC for Your Bathroom Renovation?
At Smart Remodeling LLC, we offer a wide range of bathroom renovation services in Houston and surrounding areas. You can get everything for your remodeling project from vanity installation, bathroom flooring replacement to bathtub and shower installation, and creative design consultation.
With over 14 years of expertise in custom design, building, and remodeling, our team ensures reliable, on-time project completion. We are proud recipients of the Best of Houzz Award for 2024.
Contact us to get free estimates to plan a realistic budget for you.
Conclusion
Now that you’ve completed these extra procedures, your bathroom sink drain replacement should have gone well. Make sure to take some time to pay close attention to the guidelines. This way, you can relish your sink’s enhanced appearance and functionality and, moreover, get rid of your faulty leaking sink drain!