

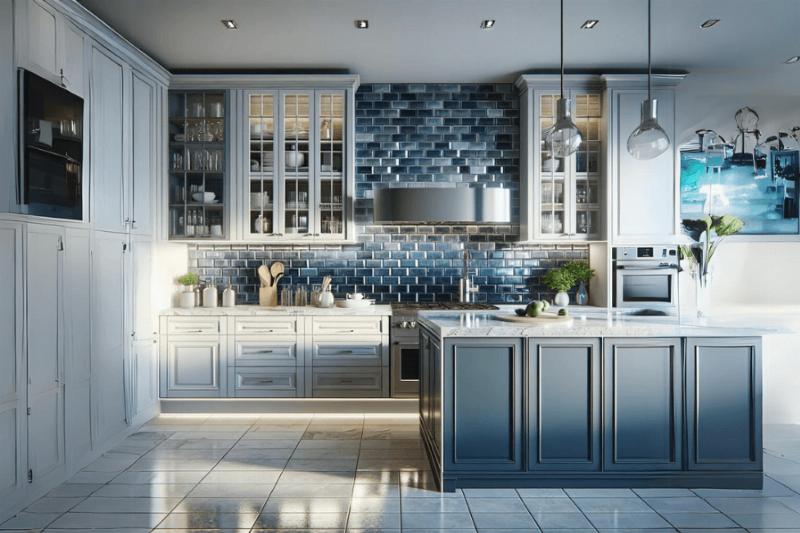
A backsplash is a lifesaver in our kitchen. If you’ve ever experienced the mess of lifting a mixer from a batter bowl too soon, you understand the practical value of an easy-to-clean backsplash. So, it adds more than just aesthetic value to your kitchen.
Today, we are teaching you about the installation of a tile backsplash. Never underestimate the impact a tile backsplash can make on your kitchen, pantry or home bar. A stunning tile backsplash has the potential to change the appearance of your area completely. When it comes to tiling a kitchen backsplash, there are various options with numerous budget-friendly DIY ideas that you can explore.
Installing a tile backsplash is a beginner-friendly DIY project. In this article, we will guide you through the process of cutting, installing, and grouting ceramic tiles to give your kitchen a renewed and polished look.
Step-by-step Guide to Install Kitchen Backsplash
Installing a kitchen backsplash can dramatically change the look of your kitchen. Here’s a simplified step-by-step guide to help you through the process.
Project Overview
Working Time | 0 Mins |
Total Time | 0 Mins |
Estimated Cost | $150+ |
Skill Level | Intermediate |
What You’ll Need
Materials
- Sponge
- Rags
- Bucket
- Tile
- Level
- Spacers
- Trisodium phosphate (TSP)
- Pencil
- Painter’s tape
- Notched trowel
- Thin-set mortar
- Electrical box extender
- Drop cloth
- Stirrer
- Tape measure
- Schluter strip
- Non-sanded grout
- Utility knife
- Grout sealer
- Caulk
Equipment/Tools
- Grout float
- Sander
- (It’s optional)
- Caulk gun
- Wet saw/tile cutter
- Putty knife (It’s optional)
- Screwdriver/drill
Instructions to Follow
So gather your materials and equipment and start your journey of installing a backsplash in your kitchen.
Step:1 Clean the Walls
Let’s begin the process. Shut off the power in the kitchen and take off switch plates or any outlet covers. While tile can be applied directly to drywall, there should be no wallpaper or peeling paint. Sand any defects on the wall surface and remove any dust to ensure excellent adhesion.
If there are stubborn oil stains or residue, use trisodium phosphate (TSP) to clean the walls thoroughly. Finish the preparation by cleaning the walls with a moist cloth and allow them to completely dry before you begin the tile installation.
Step:2 Plan Tile Layout
After making sure the wall is clean, use tape to put your ceramic tiles where you want them to check how they look. Cut the tiles if needed, using a knife to separate them. Figure out how to fill any gaps between the tile and the bottom of the wall cabinets, aiming for as close to a half-tile as possible.
You can start the tiles at the countertop without a gap or leave a gap to help fill the space above. Tape the sheets up to the corner, leaving a space no wider than a half-tile. As you remove the sheets, mark their locations with a pencil for reference.
Step:3 Create Tile Edge
If you want to finish the backsplash with the Schluter strip, then measure, trim, and install the strip before you start tiling and make it part of your layout. Attach the strip using thin-set mortar at the point where you want the backsplash to finish.
Alternatively, you have the option to conclude the backsplash finish with bullnose tiles. They have rounded-edge finish. Install bullnose tiles when you’ve reached the end of your backsplash rather than at the beginning.
Step:4 Apply Thin-Set
Cover your countertop with a drop cloth to shield it. Use a trowel to apply thin-set mortar to the wall. Make sure that you create even ridges by carefully working the mortar with the notched side of the trowel. Refer to the manufacturer’s guidelines for the suggested notch size on the trowel (commonly 1/8-inch).
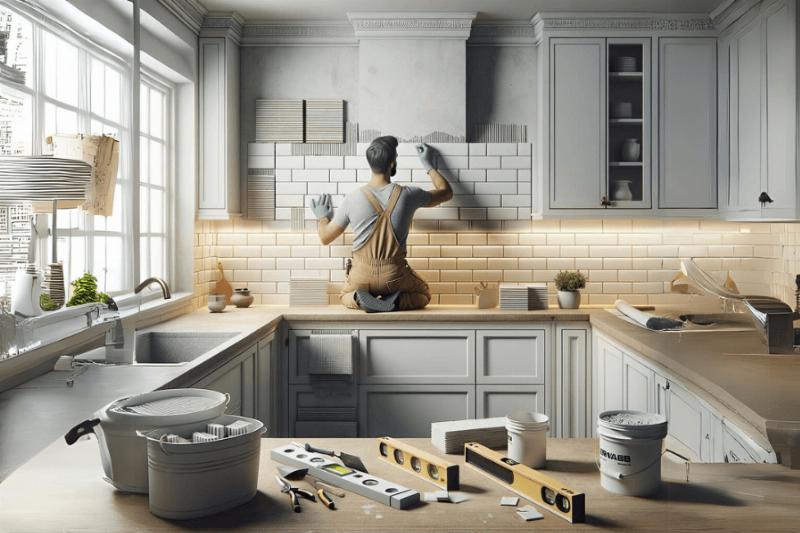
Step:5 Start Installing the Tile Backsplash
Begin by installing the complete tile sheets and aligning them with the reference marks you made (which should be visible through the thin-set mortar). Utilize tile spacers to maintain uniform gaps between the sheets. After placing the sheet, pull it back to inspect for any empty spaces. If necessary, add additional thin-set mortar to fill any gaps.
Step:6 Tile Around Switches
While installing a backsplash, you may encounter switches or outlets that you need to tile around. To work around these, ensure the power is turned off at the breaker panel. Remove the screws holding the switch or outlet and gently pull it away from the wall. Once tiling and grouting are finished, add a box extender to accommodate the added thickness of the tiles. You might need longer screws due to the increased thickness.
Step:7 Continue Using Tile Spacers
As you keep putting up tiles, make sure to use spacers to keep them evenly spaced across and up and down the wall. With spacers, the tiles might be smooth. Also, remember that your walls may not be perfectly square. To address this, you may need to cut some tiles to fit or adjust by having a slightly larger grout line beneath the upper cabinets.
Step:8 Add the Last Row of Tiles
When you get to the Schluter strip, use the wet saw or a tile cutter to trim the tiles for the last row. After cutting, smooth out any uneven edges with a rubbing stone.
Step:9 Set the Tiles & Apply Tile Grout
After positioning all the tiles, firmly press them onto the wall using your fingers or a grout float. Ensure that the tiles are evenly set, and wipe off any excess thin-set mortar.
Once the thin-set mortar has been set (typically around 12 hours), prepare the grout. Apply the grout into all the joints by moving the grout float across the tiles in vertical, horizontal, and diagonal motions. Fill all spaces between the tiles with grout, making sure there are no holes, gaps, or air bubbles.
Step: 10 Wipe Clean the Excess Grout
Once you complete the grouting process for your tile backsplash, use a damp sponge (not soaked) to wipe away the excess grout from the tiles.
Step: 11 Wipe using Dry Towel
Once the grout has dried according to the manufacturer’s guidelines, use a clean, dry towel to eliminate any remaining haze on the tiles.
Step: 12 Seal Tile Grout
To ease future maintenance, use grout sealer to protect against potential staining. Additionally, complete your tile installation by applying caulk along the junction where the backsplash connects to upper cabinets.
Hire a Professional to do Your Kitchen Backsplash Installation
When it comes to enhancing your kitchen with a stylish and functional backsplash, entrusting the job to a professional can make all the difference.
Here’s why hiring an experienced person is a wise choice:
- A professional brings a level of precision and expertise that ensures your kitchen backsplash is flawlessly executed.
- He will significantly reduce the time it takes to complete your project.
- Professionals have extensive knowledge of different materials. They could help you make informed decisions based on your preferences, budget, and the overall design of your kitchen.
So, get a quote from Smart Remodeling LLC. It is a trusted, worthy company located in Houston. We work closely with you to comprehend your vision, offering expert advice and executing the installation to meet or exceed your expectations. Your investment with Smart Remodeling LLC adds long-lasting value to your kitchen.
So, trust Smart Remodeling LLC and Contact Us Now!
However, if you are still consistent in doing this project on your own, let’s explore experts’ tips and tricks that they share so that you can do it at a mastery level.
Advance Tips & Tricks for Installing the Tile Backsplash
When it comes to installing a tile backsplash, the difference between a good job and a great one often lies in the attention to detail and the mastery of a few advanced techniques.
Here are some insider tips and tricks to elevate your backsplash project.
- Wall Preparation: Ensure walls are flat. Use drywall mud to correct any indentations or uneven surfaces.
- Safety Around Outlets: Turn off the circuit for safety. Cover outlets with tape and wrap screws with electrical tape to prevent electrocution.
- Electrical Box Adjustment: This relates to the guidance on installing tile around switches and receptacles, considering electrical box depth.
- Protecting Surfaces: Cover countertops with durable materials like cardboard to protect them from adhesive and grout.
- Tile Spacing: Choose the appropriate spacer size based on tile dimensions.
- Layout Planning: Avoid ending with a thin tile slice. Adjust the tile layout so that the end pieces are as large as possible.
- Corner Treatment: Leave gaps at inside corners and fill them with silicone instead of grout for flexibility.
- Marking Tiles: Use a Sharpie for keeping tiles; it’s easy to wipe off after cutting.
- Tile Cutting: Use a tile cutter for straight cuts and an angle grinder with a diamond-bit blade for detailed cuts.
- Using a Laser Level: A laser level helps achieve a crisp, straight line, which is especially important in corners and over gaps.
- Applying Adhesive: Use a trowel with 1/4 inch grooves. Spread adhesive on the wall and scrape it horizontally. Back butter tiles when necessary.
- Placing Spacers: Ensure spacers are tucked away from edges and use two on the bottom for level alignment.
- Detail Cuts: Allow extra space for fine cuts, especially around electrical boxes.
- Edge Trim: Choose a metal trim that matches the tile thickness and grout gap. Cut with a metal saw and sand for smoothness.
- Avoiding Tile Breakage: Ensure tiles are fully supported, and the junction box is flush with the tile surface.
- Fixing Mistakes: Use a junction box extender to correct issues with recessed boxes.
- Final Checks: Review your work and make any necessary adjustments before the adhesive sets.
Final Verdict
In this comprehensive guide, we’ve navigated through the essential steps of installing a kitchen backsplash. This project not only enhances the aesthetic appeal of your kitchen but also adds practical value by protecting your walls from spills and splatters.
Remember, a well-installed backsplash is more than just a functional element; it’s a statement piece that reflects your style and elevates the heart of your home. So, roll up your sleeves, gather your tools and materials, and start this rewarding experience to create a backsplash that you’ll be proud of!